Richard Doherty | January 20, 2023
Background
A few months ago I wanted to create a project that would help me get the hang of back-end development. I heard that PokeApi is a good starting point for learning about API's.
What I Used to Make This App
I built this app using Next.js, TypeScript, Tailwind, and PokeApi.
I also made use of a few tutorials, in particular this article from CompileTab, and this video by Dom the dev.
First Steps
First I created a new Next.js project with the command:
npx create-next-app@latest --typescript pokedexnpx create-next-app@latest --typescript pokedexThen I installed Tailwind and started setting up the API.
Setting up the API
getStaticProps
Next.js has a function getStaticProps which can be used to fetch some data from an API and pass it to the page as props before the page is rendered.
I added this code to the end of index.tsx:
export async function getStaticProps() {
    return {
        props: {},
    };
}
export async function getStaticProps() {
return {
props: {},
};
}Fetching the Data
Once this function is in place, the call to PokeApi can be made inside:
export async function getStaticProps() {
    const res = await fetch("https://pokeapi.co/api/v2/pokemon?limit=151");
    const pokemon = await res.json();

    return {
        props: {
            pokemon,
        },
    };
}
export async function getStaticProps() {
const res = await fetch("https://pokeapi.co/api/v2/pokemon?limit=151");
const pokemon = await res.json();
return {
props: {
pokemon,
},
};
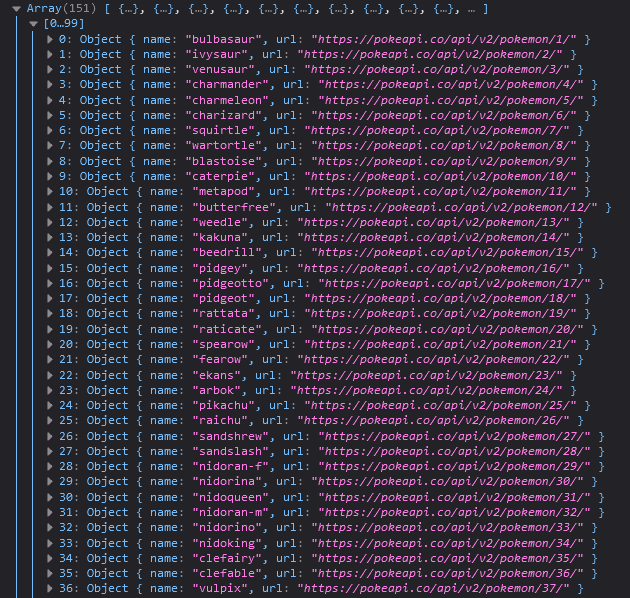
}The data is fetched from the API, turned into json, and returned as props.
I like to console.log() the data to make sure it is being retrieved correctly. Here is what that data looks like.
Displaying the data
Now that we know the data is being fetched properly, we want to display that data on the page.
Creating the Component
To do this, I decided to create a new component called "PokemonCard" which will contain a single Pokemon's information.
import Link from "next/link";
import Image from "next/image";

export default function PokemonCard(props) {
    return (
        <div key={props.index}>
            <Link href={"pokemon/" + props.entry.name}>
                <div>
                    <h2>{props.entry.name}</h2>
                    <p>#{props.index + 1}</p>
                </div>
            </Link>
        </div>
    );
}import Link from "next/link";
import Image from "next/image";
export default function PokemonCard(props) {
return (
<div key={props.index}>
<Link href={"pokemon/" + props.entry.name}>
<div>
<h2>{props.entry.name}</h2>
<p>#{props.index + 1}</p>
</div>
</Link>
</div>
);
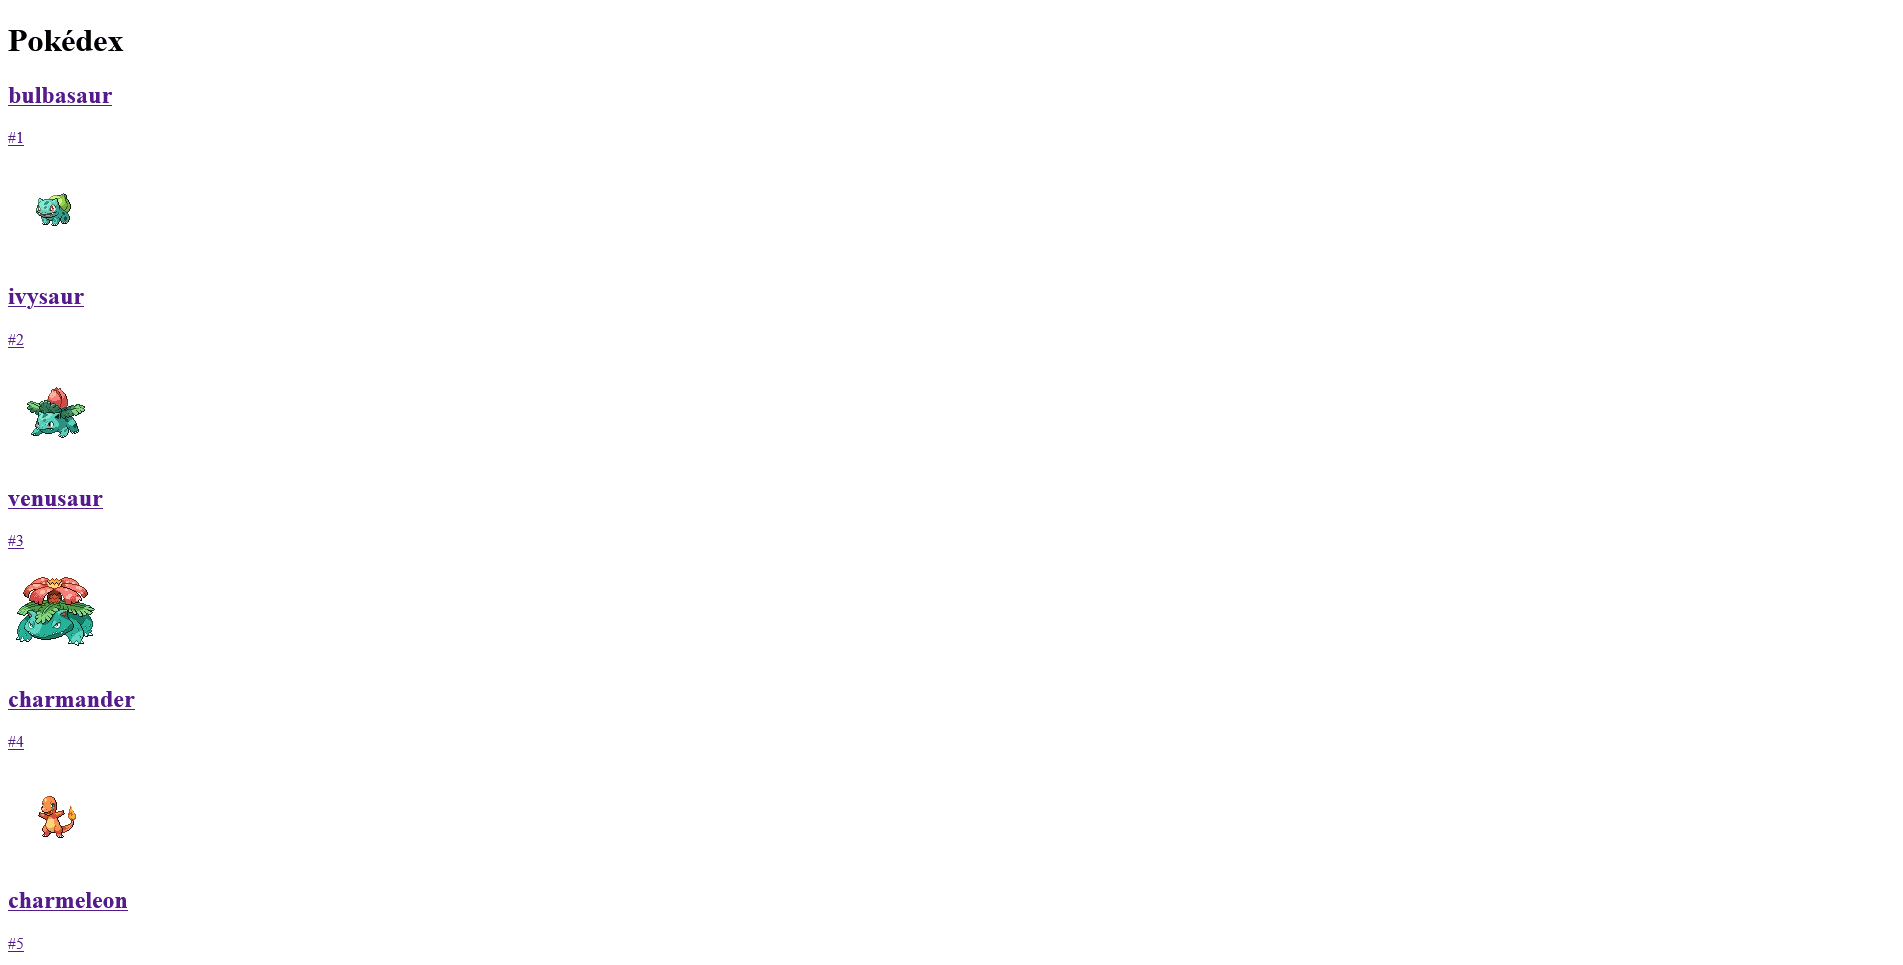
}I imported the PokemonCard component and used props to get the text to show up for each Pokemon. The number has to be incremented by 1 to display the correct number since the array starts at index 0.
Rendering the Cards
Next, to get all of the PokemonCards to show up on the page, I used a map function in index.tsx to render a PokemonCard component for each Pokemon.
export default function Home({ pokemon }: any) {
    const { results } = pokemon;
    return (
        <div>
            <Head>
                <title>Pokédex</title>
                <meta
                    name="description"
                    content="Pokedex app created by Richard Doherty"
                />
                <link rel="icon" href="/favicon.png" />
            </Head>
            <main>
                <h1>Pokédex</h1>
                <div>
                    {results.map((entry: Pokemon, index: number) => (
                        <PokemonCard entry={entry} index={index} key={index} />
                    ))}
                </div>
            </main>
        </div>
    );
}export default function Home({ pokemon }: any) {
const { results } = pokemon;
return (
<div>
<Head>
<title>Pokédex</title>
<meta
name="description"
content="Pokedex app created by Richard Doherty"
/>
<link rel="icon" href="/favicon.png" />
</Head>
<main>
<h1>Pokédex</h1>
<div>
{results.map((entry: Pokemon, index: number) => (
<PokemonCard entry={entry} index={index} key={index} />
))}
</div>
</main>
</div>
);
}Adding an Image
One more thing to do before adding styling is adding an image. First we want to go back to the PokemonCard.jsx file. We can use Next.js' Image component to display the image.
<Image
    id={imgId}
    src={`https://img.pokemondb.net/sprites/black-white/normal/${props.entry.name}.png`}
    alt={props.entry.name}
    width="96"
    height="96"
/><Image
id={imgId}
src={`https://img.pokemondb.net/sprites/black-white/normal/${props.entry.name}.png`}
alt={props.entry.name}
width="96"
height="96"
/>However, you may receive the following error:
Error: Invalid src prop (https://img.pokemondb.net/sprites/black-white/normal/bulbasaur.png) on next/image, hostname "img.pokemondb.net" is not configured under images in your next.config.js
See more info: https://nextjs.org/docs/messages/next-image-unconfigured-host
To fix this you must go into your next.config.js and add this code:
/** @type {import('next').NextConfig} */
const nextConfig = {
    reactStrictMode: true,
    images: {
        remotePatterns: [
            {
                protocol: "https",
                hostname: "raw.githubusercontent.com",
            },
            {
                protocol: "https",
                hostname: "img.pokemondb.net",
            },
        ],
    },
};

module.exports = nextConfig;/** @type {import('next').NextConfig} */
const nextConfig = {
reactStrictMode: true,
images: {
remotePatterns: [
{
protocol: "https",
hostname: "raw.githubusercontent.com",
},
{
protocol: "https",
hostname: "img.pokemondb.net",
},
],
},
};
module.exports = nextConfig;Your app should now look like this:
Adding Background Color
This is the part that took the longest to figure out. First, I created a new type.css file with classes for each Pokemon type. I found the colors on Bulbapedia.
.normal {
    @apply bg-[#A8A878];
}
.fire {
    @apply bg-[#F08030];
}
.water {
    @apply bg-[#6890F0];
}
.electric {
    @apply bg-[#F8D030];
}
.grass {
    @apply bg-[#78C850];
}
.ice {
    @apply bg-[#98D8D8];
}
.fighting {
    @apply bg-[#C03028];
}
.poison {
    @apply bg-[#A040A0];
}
.ground {
    @apply bg-[#E0C068];
}
.flying {
    @apply bg-[#A890F0];
}
.psychic {
    @apply bg-[#F85888];
}
.bug {
    @apply bg-[#A8B820];
}
.rock {
    @apply bg-[#B8A038];
}
.ghost {
    @apply bg-[#705898];
}
.dragon {
    @apply bg-[#7038F8];
}
.dark {
    @apply bg-[#705848];
}
.steel {
    @apply bg-[#B8B8D0];
}
.fairy {
    @apply bg-[#EE99AC];
}.normal {
@apply bg-[#A8A878];
}
.fire {
@apply bg-[#F08030];
}
.water {
@apply bg-[#6890F0];
}
.electric {
@apply bg-[#F8D030];
}
.grass {
@apply bg-[#78C850];
}
.ice {
@apply bg-[#98D8D8];
}
.fighting {
@apply bg-[#C03028];
}
.poison {
@apply bg-[#A040A0];
}
.ground {
@apply bg-[#E0C068];
}
.flying {
@apply bg-[#A890F0];
}
.psychic {
@apply bg-[#F85888];
}
.bug {
@apply bg-[#A8B820];
}
.rock {
@apply bg-[#B8A038];
}
.ghost {
@apply bg-[#705898];
}
.dragon {
@apply bg-[#7038F8];
}
.dark {
@apply bg-[#705848];
}
.steel {
@apply bg-[#B8B8D0];
}
.fairy {
@apply bg-[#EE99AC];
}Now for the tricky part. You may have noticed earlier that the call to PokeApi returns an array of objects containing a name and a url. To get a Pokemon's attributes, I wanted the type here, the object's url must be fetched.
I created a new function "fetchPokemon" to fetch the data within the PokemonCard component and made use of useEffect to call the new function.
async function fetchPokemon(props) {
    const res = await fetch(props.entry.url);
    const pokemon = await res.json();
    const type = Promise.resolve(pokemon.types[0].type.name);

    try {
        const value = await type;
        document.querySelector("#" + imgId).classList.add(value);
        return value;
    } catch (err) {
        console.log(err);
    }
}

useEffect(() => {
    fetchPokemon(props);
});async function fetchPokemon(props) {
const res = await fetch(props.entry.url);
const pokemon = await res.json();
const type = Promise.resolve(pokemon.types[0].type.name);
try {
const value = await type;
document.querySelector("#" + imgId).classList.add(value);
return value;
} catch (err) {
console.log(err);
}
}
useEffect(() => {
fetchPokemon(props);
});This function gets the type from the API and appends the string to the image's classList. The background of the image then becomes whatever color corresponds to the type.
Creating a Page For Each Pokemon
Next, I created a page that contains some more info on each Pokemon. Each PokemonCard component
will have a link with an href of {"pokemon/" + props.entry.name}. The urls for each page will follow
this format.
I created a folder inside the pages directory called pokemon which corresponds to the "pokemon/"
portion of the href.
Inside the pokemon folder I created a folder called [id] and a file index.tsx inside of it.
That file looks like this:
import Image from "next/image";

export default function pokemon({ pokemon }: any) {
    return (
        <main>
            <h1>{pokemon.name}</h1>

            <div>
                <Image
                    src={
                        pokemon.sprites.other["official-artwork"].front_default
                    }
                    alt={pokemon.name}
                    width="200"
                    height="200"
                />
                <div>
                    <p>Height: {pokemon.height / 10} m</p>
                    <p>Weight: {pokemon.weight / 10} kg</p>
                    {pokemon.types.map((slot: any, index: number) => (
                        <p key={slot.type.name}>
                            <span className={`${slot.type.name}`}>
                                {slot.type.name}
                            </span>
                        </p>
                    ))}
                </div>
            </div>
        </main>
    );
}

export async function getServerSideProps(context: any) {
    const id = context.params.id;
    const res = await fetch(`https://pokeapi.co/api/v2/pokemon/${id}`);
    const pokemon = await res.json();

    return {
        props: { pokemon },
    };
}import Image from "next/image";
export default function pokemon({ pokemon }: any) {
return (
<main>
<h1>{pokemon.name}</h1>
<div>
<Image
src={
pokemon.sprites.other["official-artwork"].front_default
}
alt={pokemon.name}
width="200"
height="200"
/>
<div>
<p>Height: {pokemon.height / 10} m</p>
<p>Weight: {pokemon.weight / 10} kg</p>
{pokemon.types.map((slot: any, index: number) => (
<p key={slot.type.name}>
<span className={`${slot.type.name}`}>
{slot.type.name}
</span>
</p>
))}
</div>
</div>
</main>
);
}
export async function getServerSideProps(context: any) {
const id = context.params.id;
const res = await fetch(`https://pokeapi.co/api/v2/pokemon/${id}`);
const pokemon = await res.json();
return {
props: { pokemon },
};
}In this file, I used getServerSideProps
to retrieve the data from the database. The parameter context that is passed into the funciton
contains params which contains whatever is in place of [id] in the url. For example,
if you clicked on Bulbasaur, the full url would be "pokedex-app.com/pokemon/bulbasaur" and params
would look like { id: "bulbasaur" }. Now you will be able to access the data for the pokemon
you want.
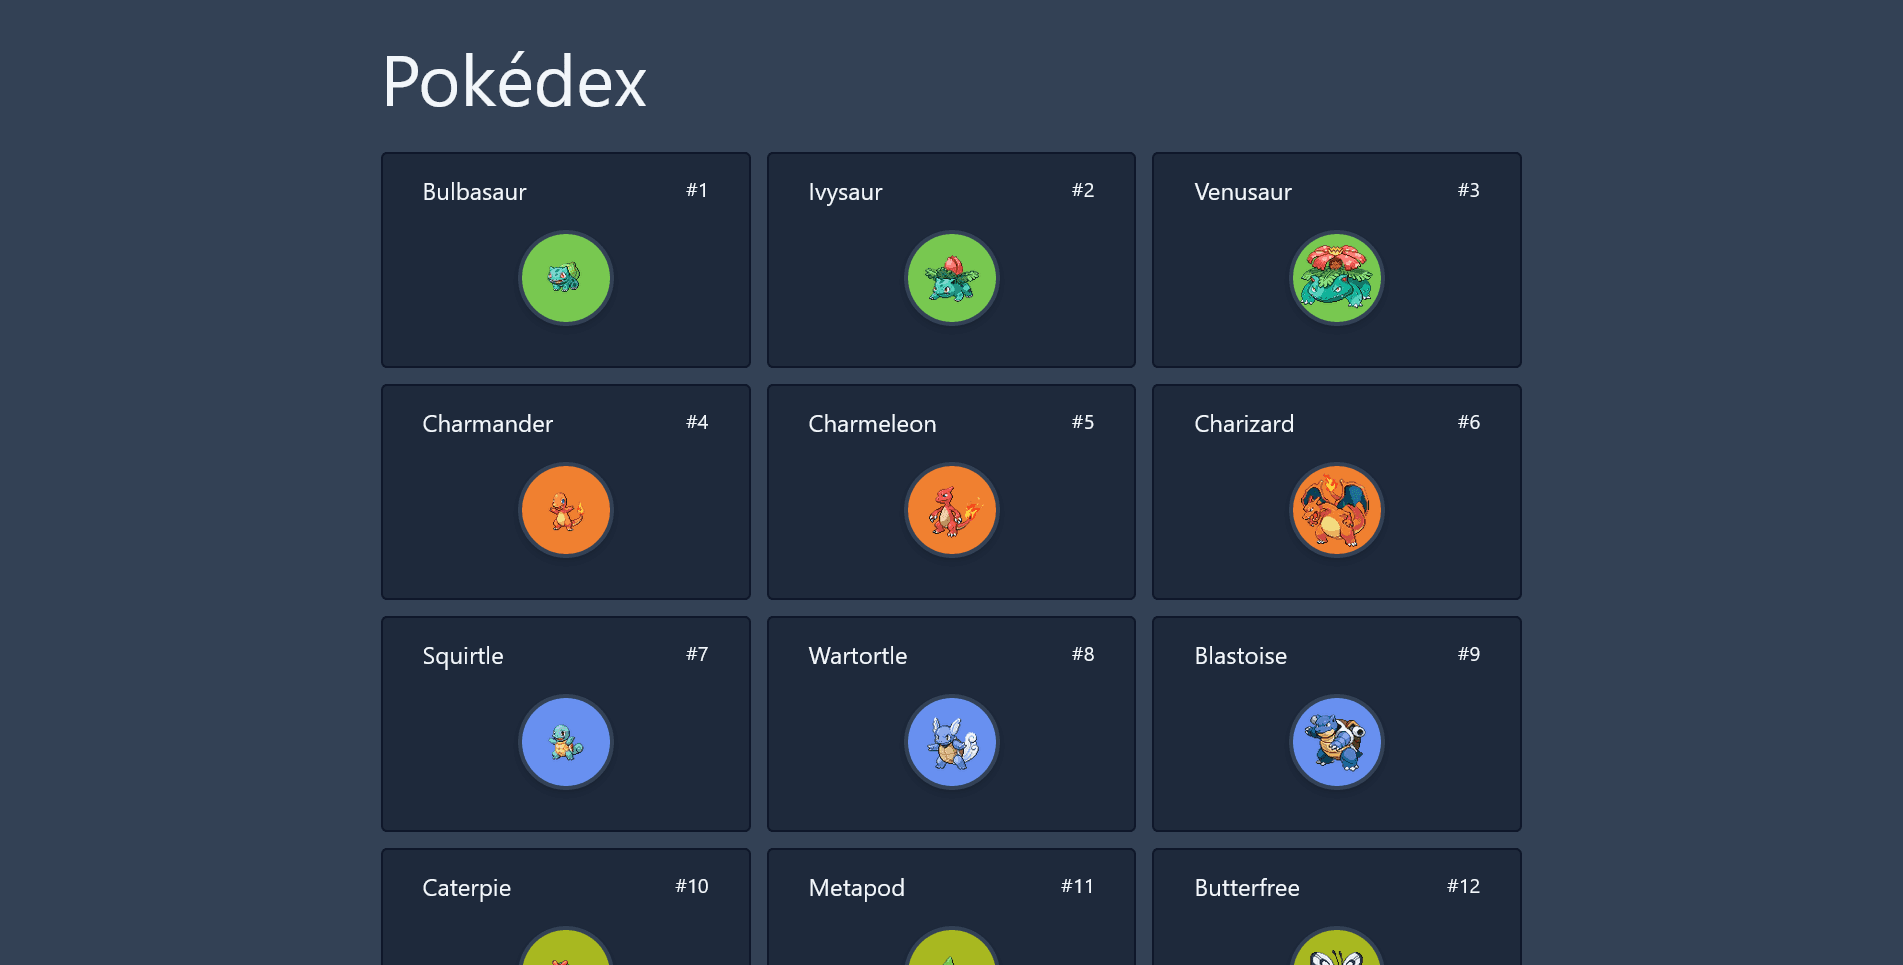
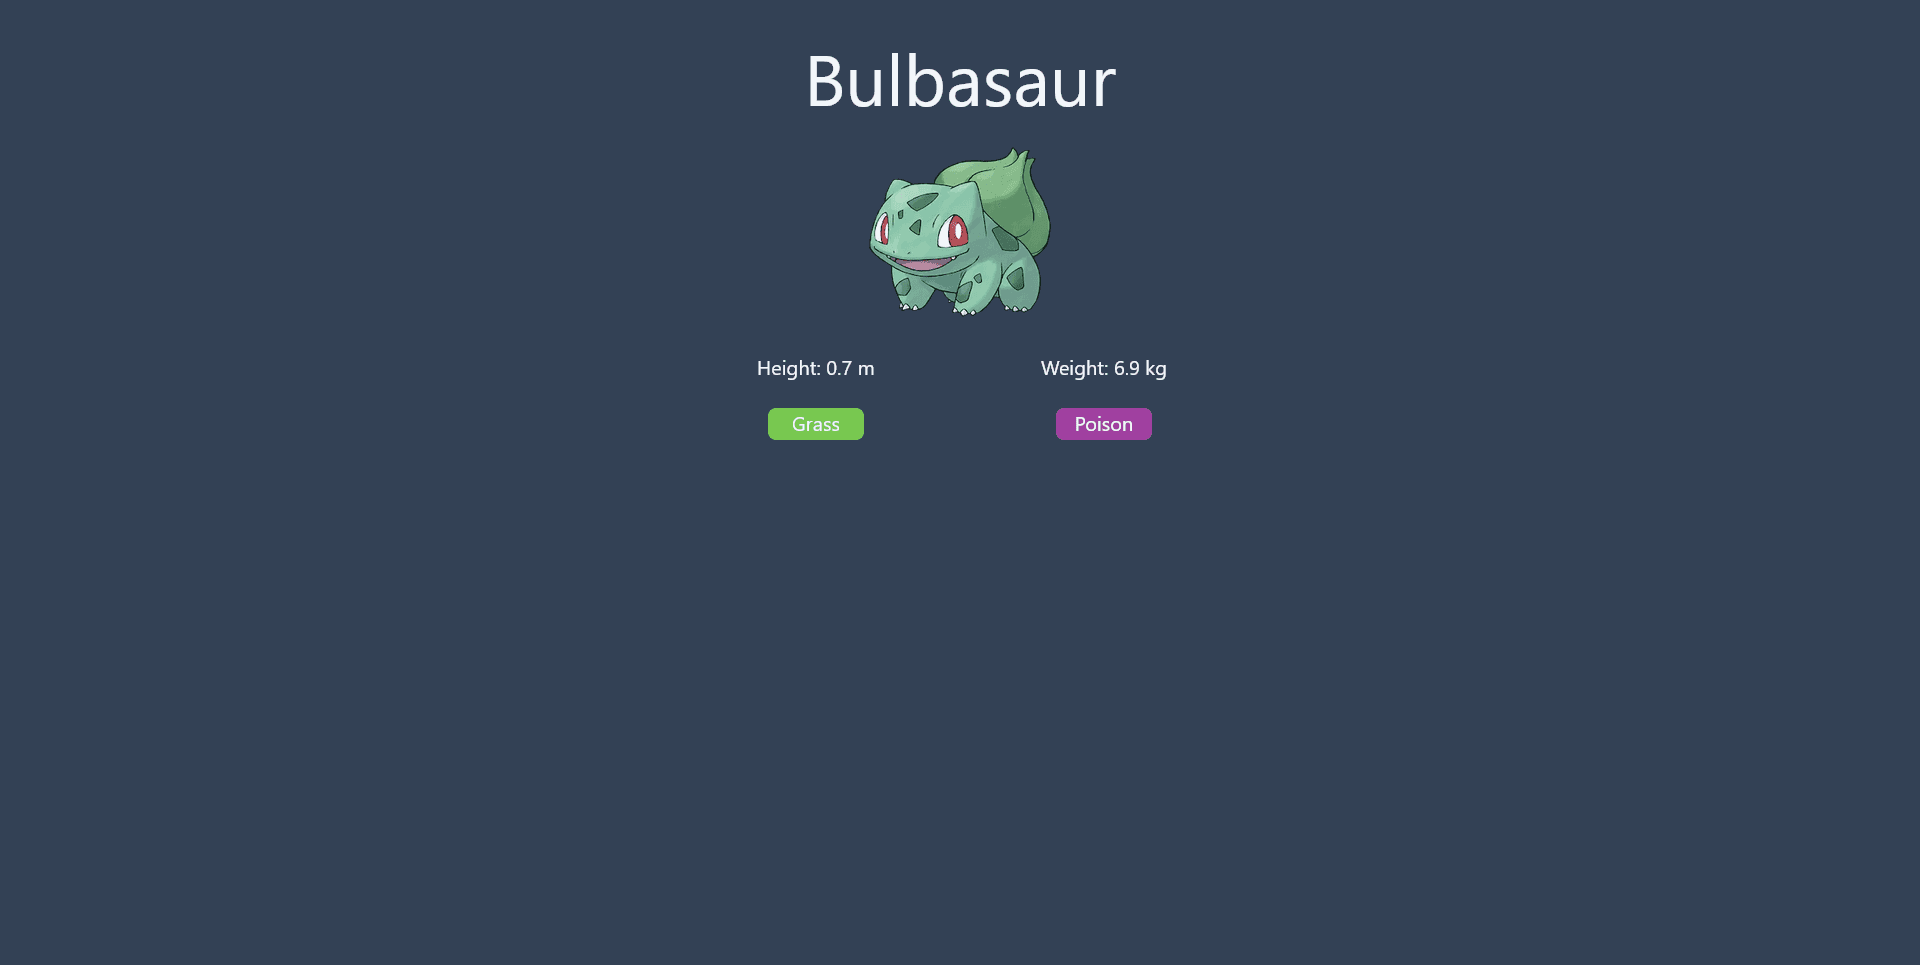
With some styling, the page should now look like this:
Conclusion
That's about it! You can find the code on my GitHub if you want to take a look at the code or see how I styled mine. Or you can style yours from scratch. I hope this post was informative and thank you for reading!